How to Read a Knitting Pattern Without Panicking — A Step-by-Step Translation Guide
If you’ve ever opened your first knitting pattern and immediately felt like you were being mocked by a secret society — welcome, you’re officially a knitter.
The first time I saw “CO 88 sts, join in the round without twisting, PM, k1tbl, p1 — repeat to end” I genuinely wondered if I had accidentally enrolled in a calculus class.
Good news: it’s not you. The language is just unnecessarily dramatic.
This is your calm, fluent, non-condescending translation guide — so the next time you open a knitting pattern, you don’t spiral.
What You’ll Learn
✅ How to quickly understand the structure of any knitting pattern
✅ The most common abbreviations — translated into real-human English
✅ How to decode size instructions, bracket chaos, and “choose your own adventure” moments
✅ A simple system for reading patterns while actually knitting (aka not losing your place every 4 seconds)
✅ What to do when the infamous phrase “AT THE SAME TIME” appears and your soul leaves your body
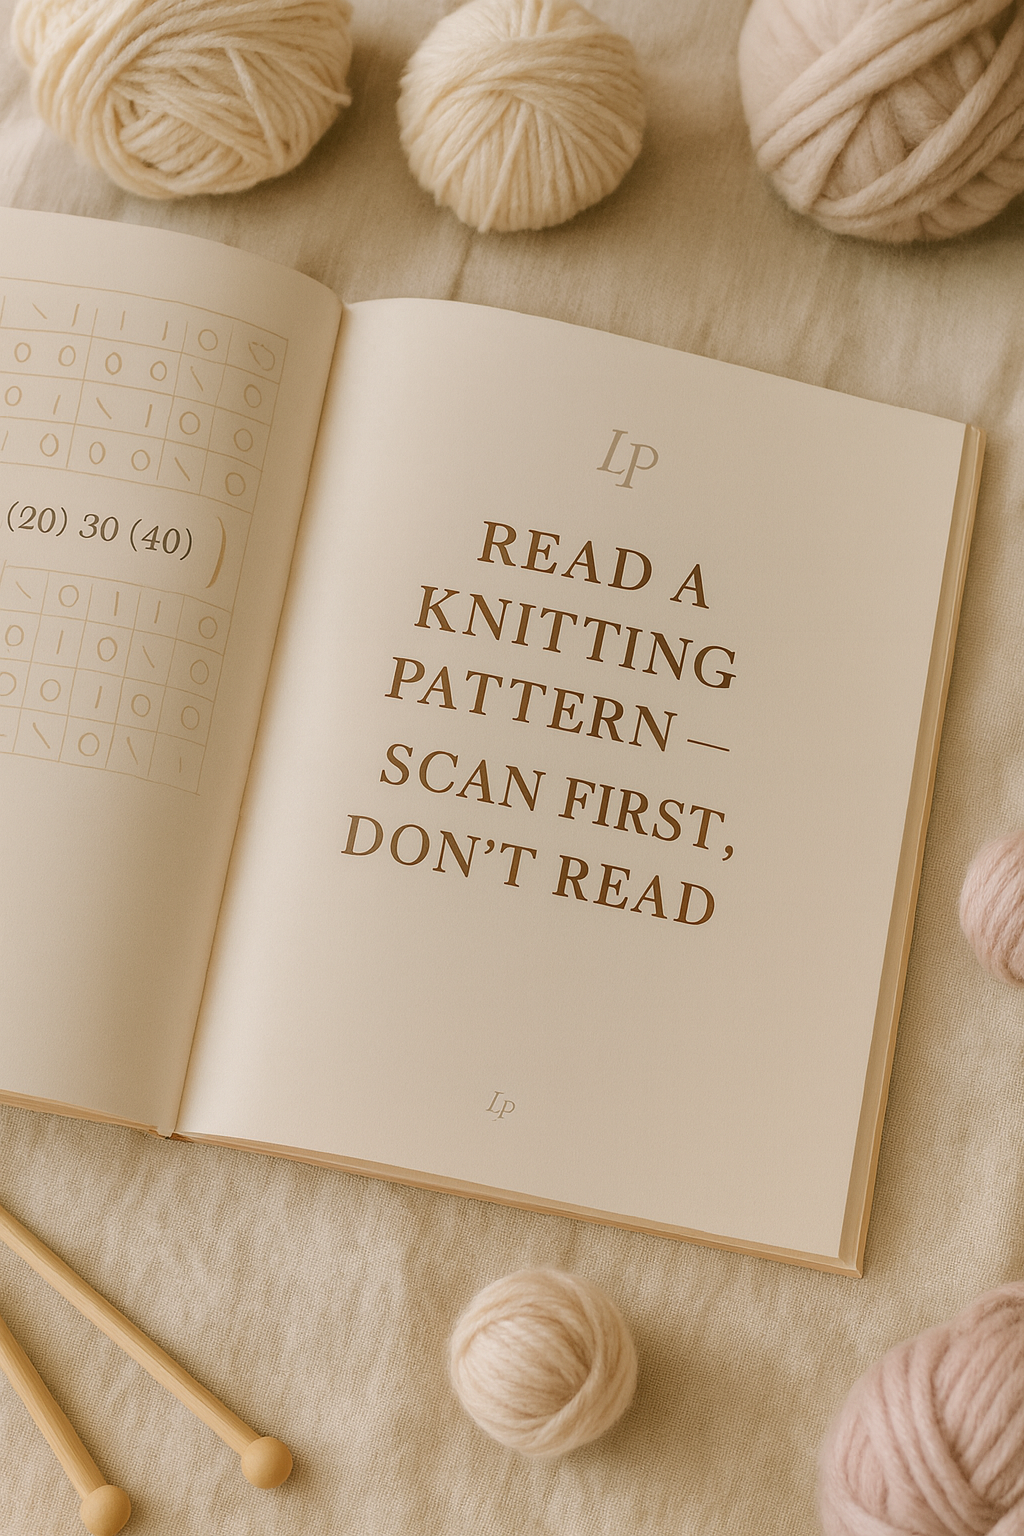
Step 1: A Knitting Pattern Is Basically a Table of Contents — Scan First, Don’t Read
Every pattern follows a loose structure:
Yarn / Needle / Gauge info ← the pre-game, not the instructions
Abbreviations section ← your decoder ring (do not skip)
The actual instructions ← this is where people scroll too fast and suffer
Sometimes: notes, schematics, charts, finishing instructions
Most beginners panic because they start reading from the top like it’s a novel. It’s not a novel.
It’s more like assembling IKEA furniture with better vibes.
Step 2: Abbreviations — The World’s Shortest, Most Aggressively Efficient Language
A few you’ll see immediately:

Nothing about this is intellectually difficult — it’s just shorthand designed like it costs money per syllable.
Step 3: Brackets, Parentheses & Size Chaos — What They Actually Mean
This is where people think they’re doing math. You’re not.

Example:
CO 88 (96, 104, 112) sts
Translation: choose the number that applies to your size — ignore the rest like they don’t exist.
First number = smallest size
Next number = next size up, and so on
If you don’t know your size in the pattern, scroll up. It’s there. They’re making you work for it emotionally, but it’s there.
Step 4: How to Physically Read a Pattern While Knitting (So You Don’t Mentally Combust)
This is where most meltdowns happen.
The anti-chaos system:
Print it or load it into GoodNotes / Notability / Knit Companion
Highlight or circle everything for your size only
Draw a line under each row as you finish it
Never — ever — trust your memory after you look away for even one second

Smart knitters are not brave — they are paranoid.
Step 5: When the Pattern Says “At the Same Time” — Do Not Flee the Building
This is the moment every knitter’s blood pressure spikes.
It does NOT mean do everything at once.
It means you are now doing two parallel mini-missions.
Break it into layers:
“Work increase row every 4 rows while at the same time maintaining 1x1 ribbing.”
Translation: keep knitting normally → every 4th row, do Thing B.
Not elegant. But survivable.
Final Thought: You’re Not Confused. You’re Becoming Fluent.
Pattern language is not hard — it’s just untranslated.
Once you get the rhythm, you’ll start seeing it for what it is:
a very efficient code written by impatient people.
Bookmark this. Print it. Pin it.
And next time a pattern tries to intimidate you — smile like you already know the ending.